I’m in the middle of a project to convert an old ‘Toaster’ Mac into something a bit more modern. It took a while to get the donor machine, get the tools to crack it open, and still need to do some clean-out while I wait for the first ‘new’ parts, an LCD that *should* hopefully fill the screen space reasonably well. Here’s some pics of the first part of the process.
I’ve got a box of components now, so I’m figuring out layout and what will need to be modified. I’ve started cutting acrylic for structural use.
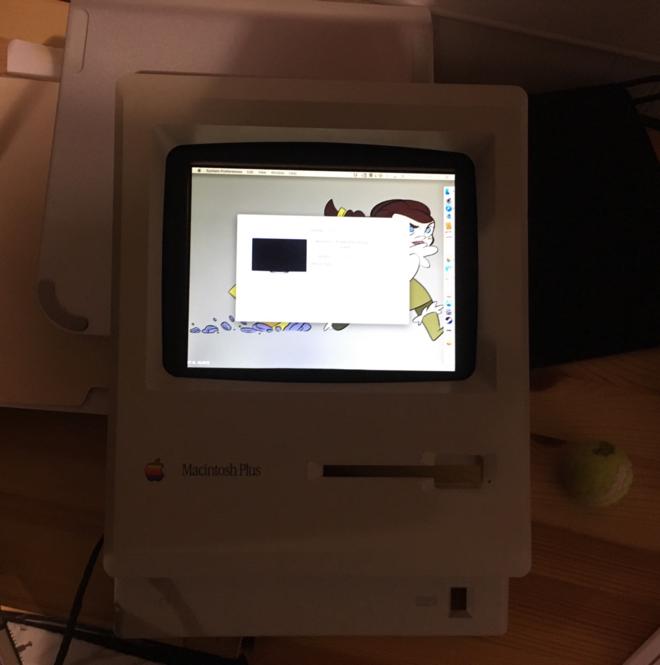
Some more pics of my Mac conversion project. Got the monitor mostly set up today!
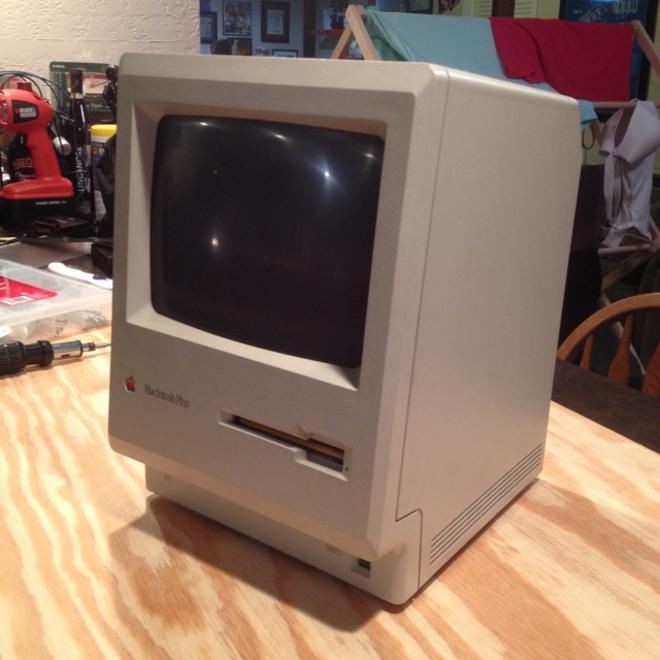
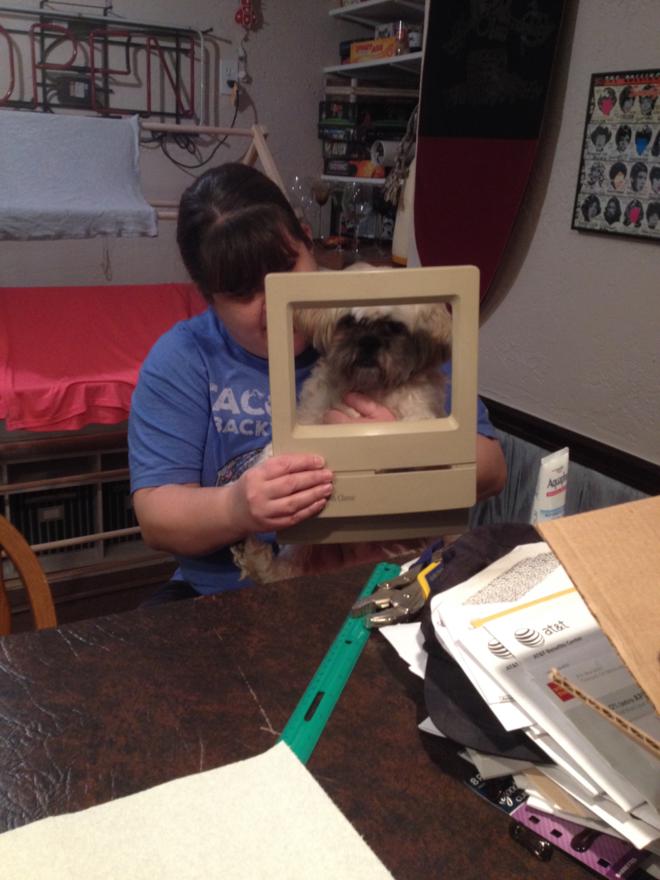
Due to some mistakes and learning opportunities, I’m taking a second swing at this project. Here’s some pics of the new ‘donor’ a Mac Plus in great condition.
Some work is being done on the front bezel. I may have to cut the case a bit more (which will suck!) to accommodate the cables for the display (which I can’t run internally), but it does work!
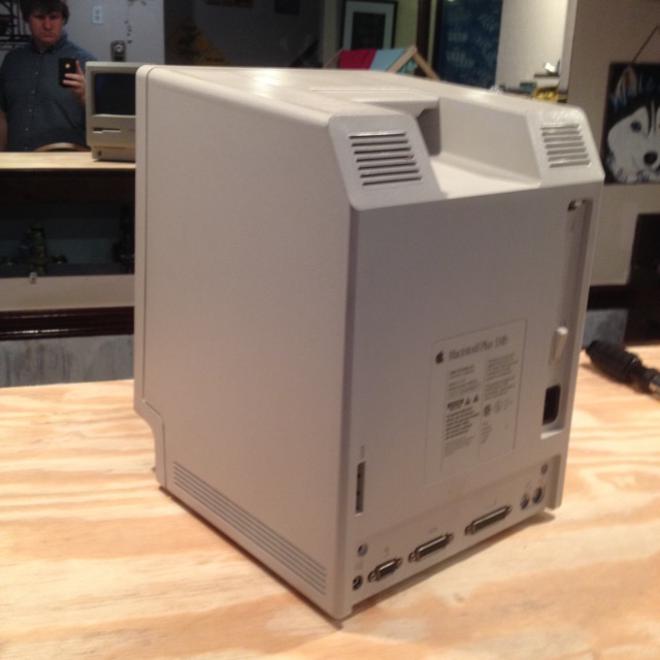
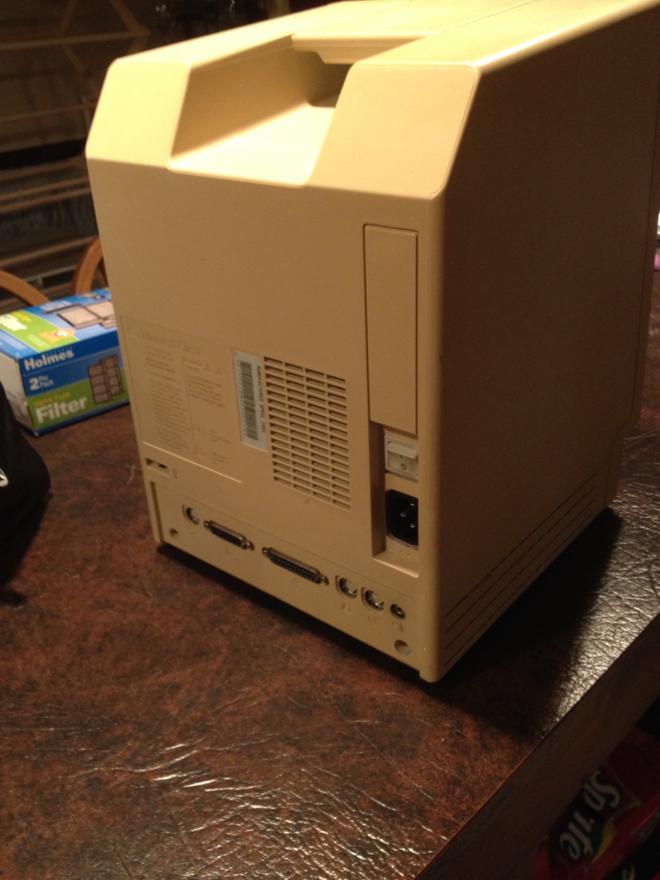
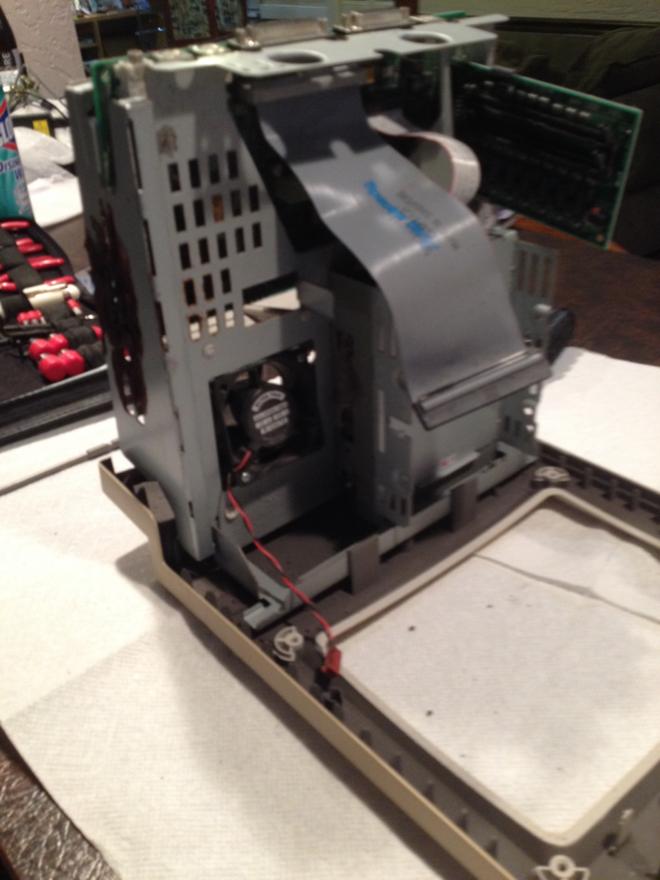
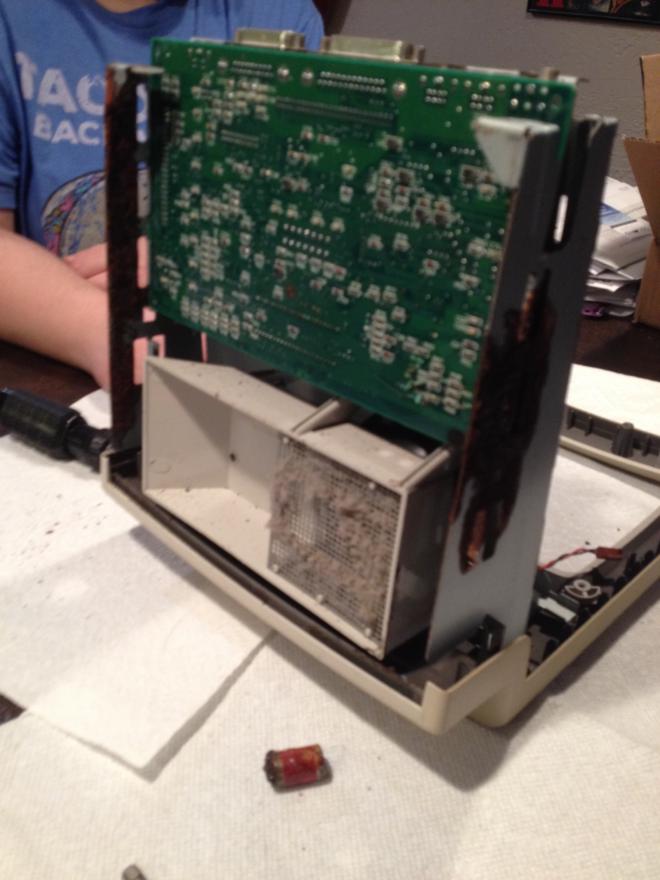
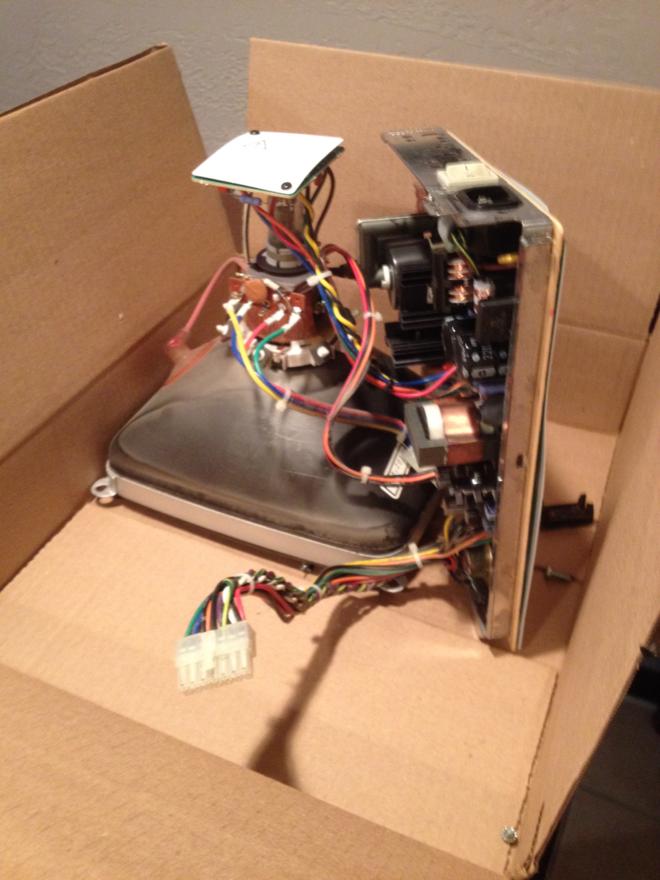
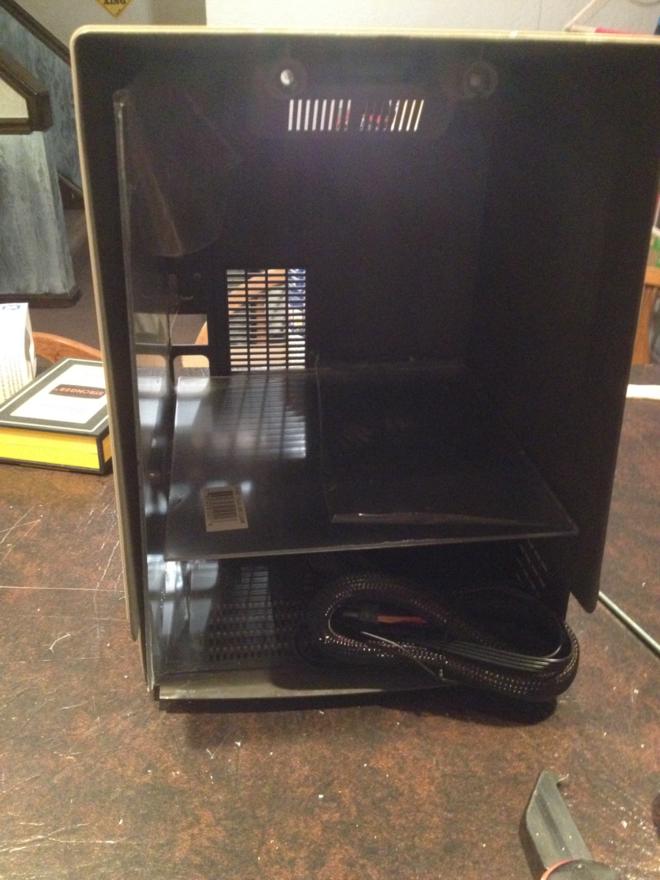
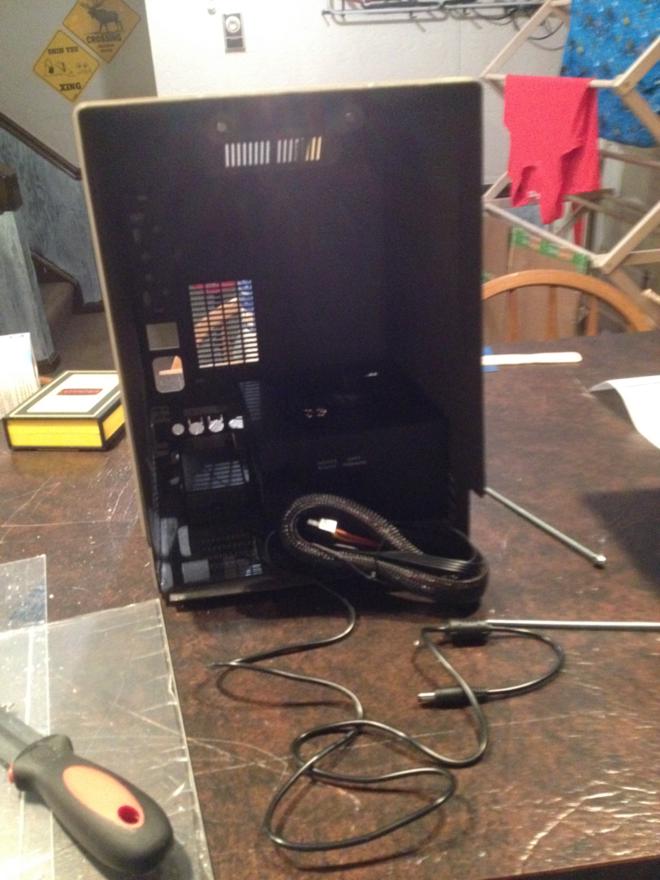
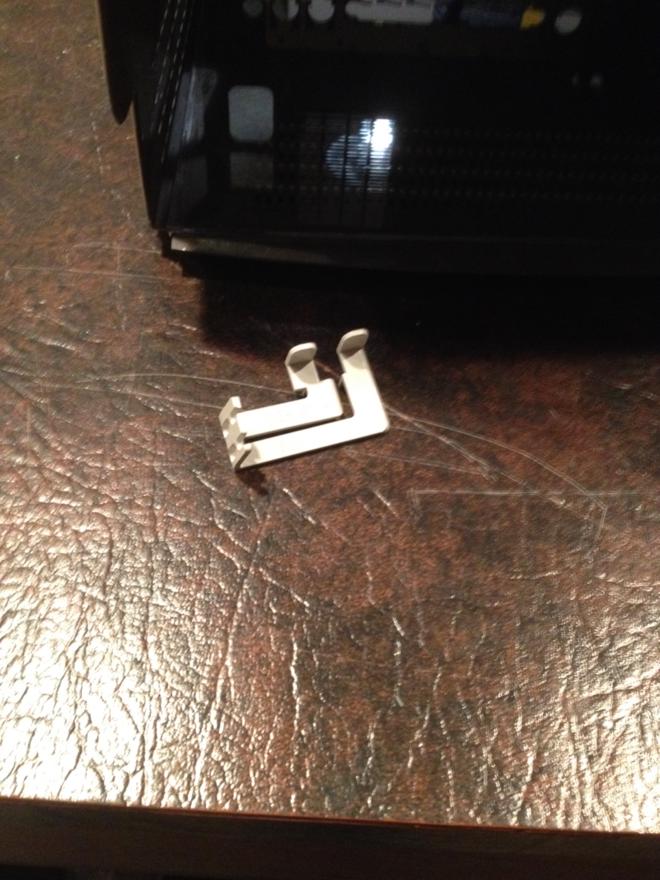
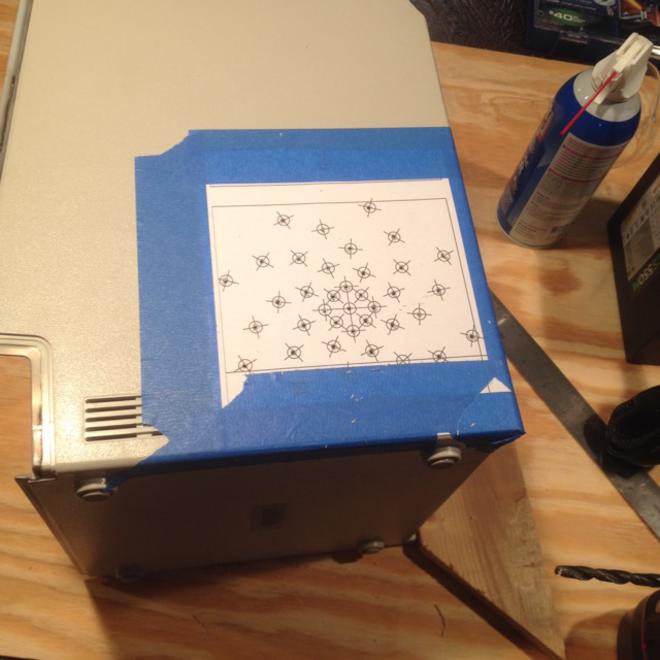
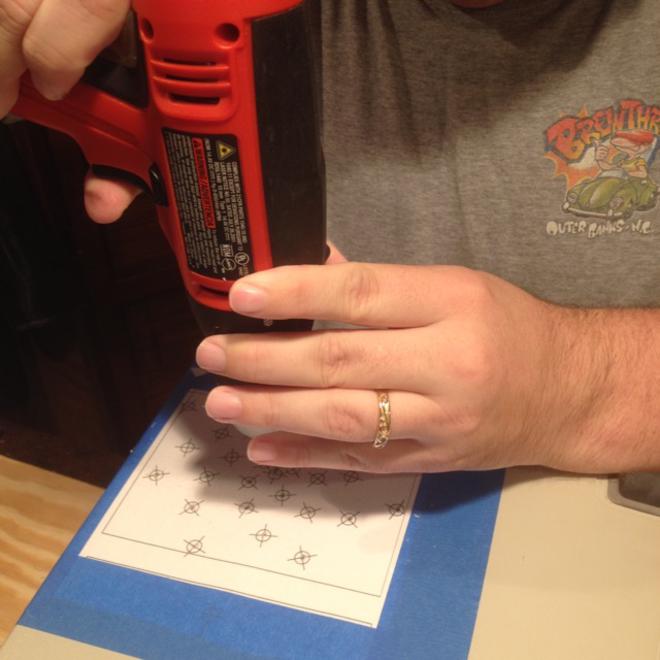
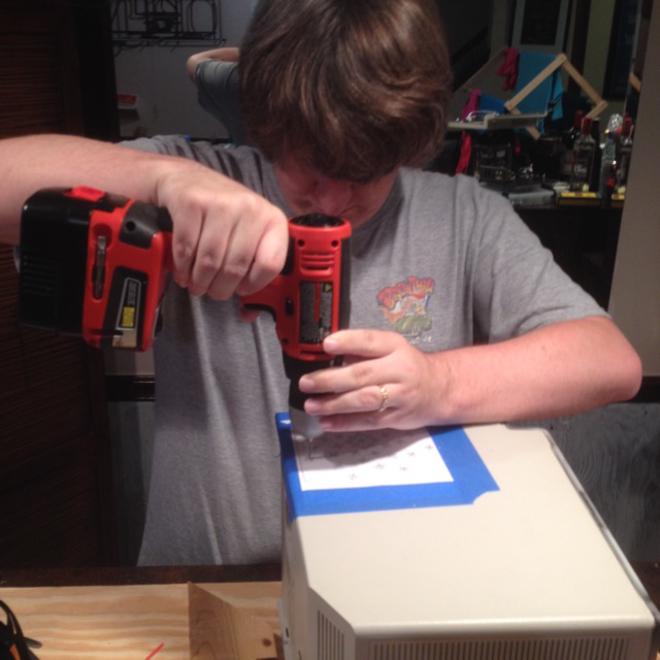
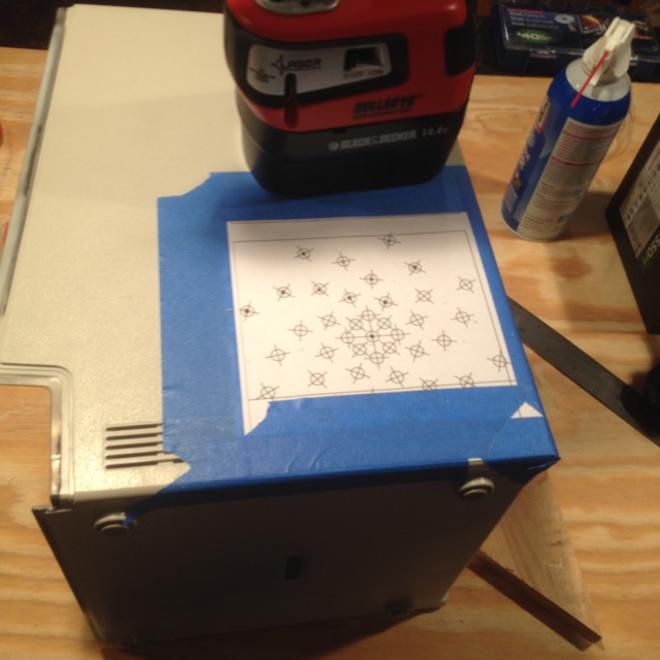
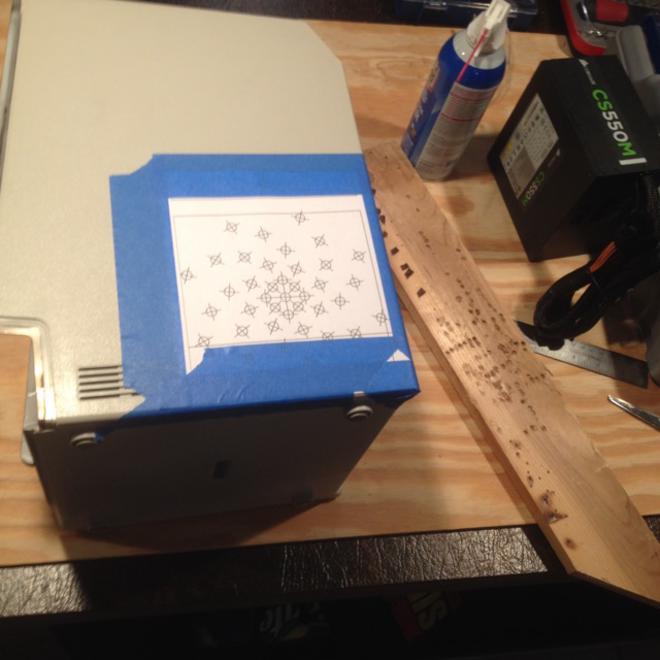
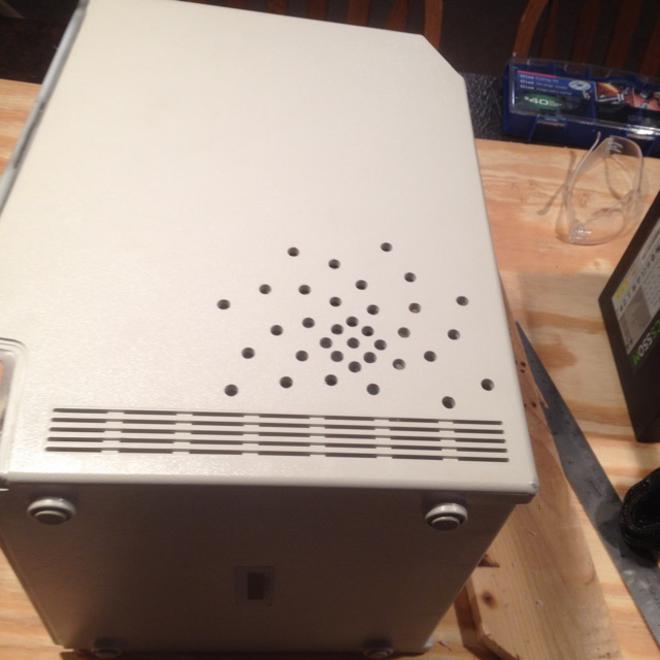
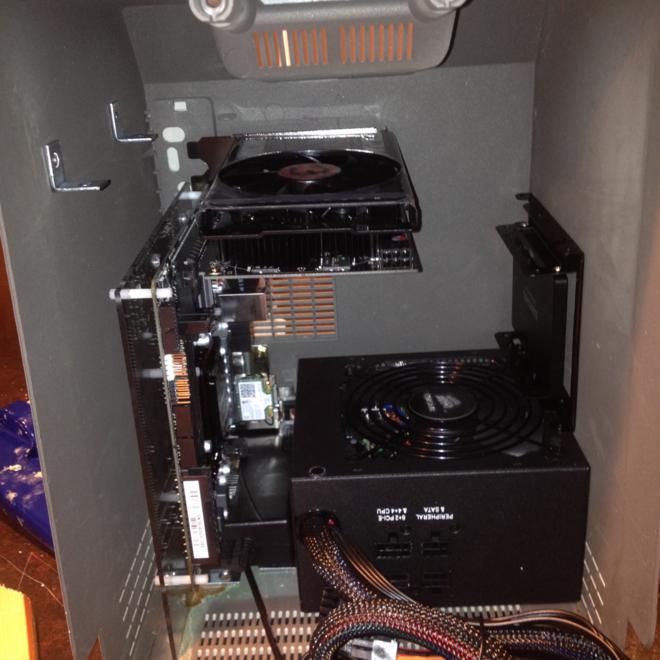
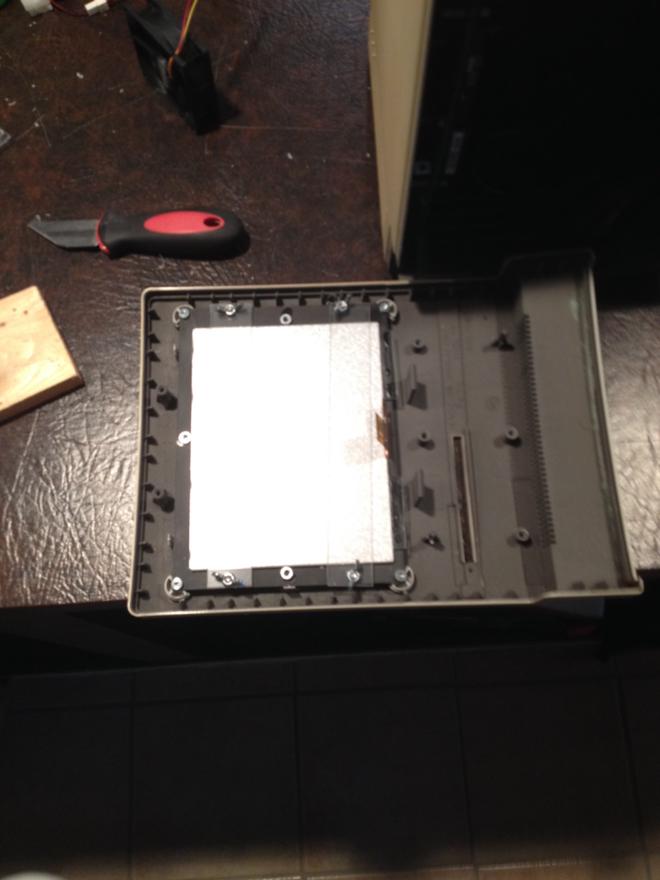
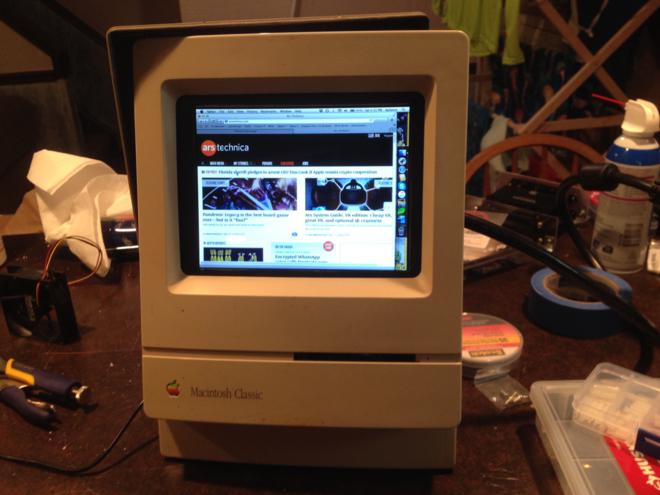
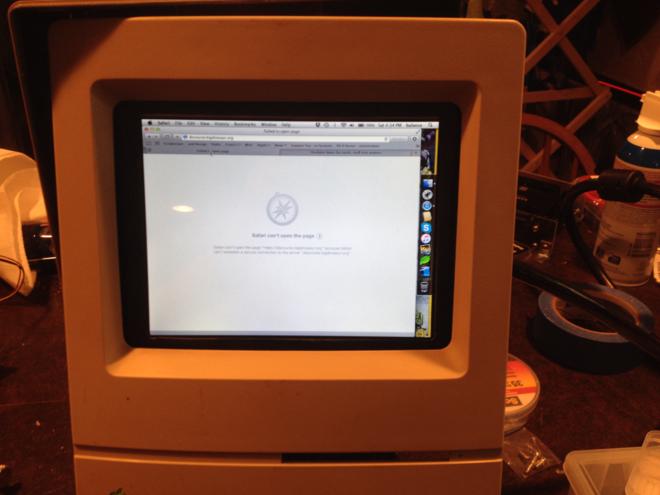
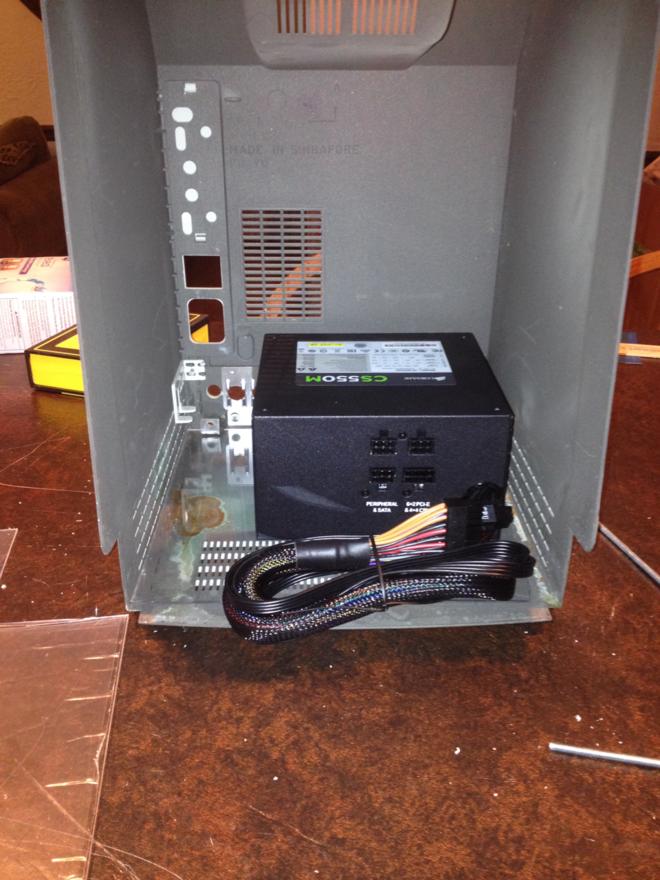
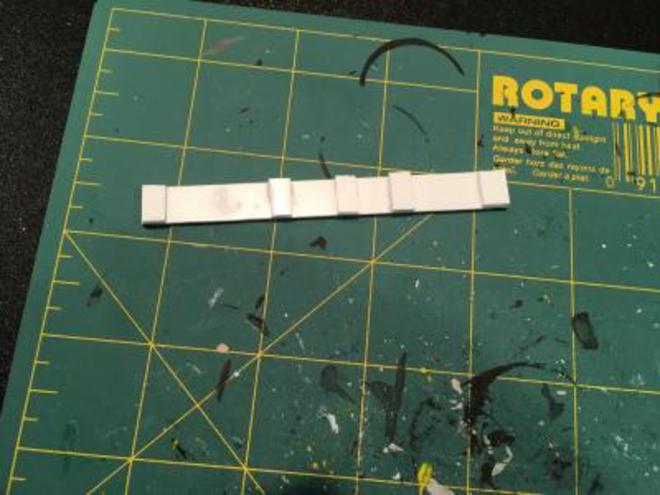
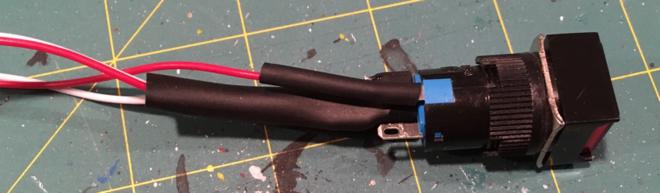
Mac Plus before being modified. (As far as I can tell it was dead. The later pics show the mother board was pretty corroded, probably due to a battery leak.)Back of the case. Again, before the cutting began.Damage from a leaking battery and/or capacitors.These machines were designed so all the internals attached to the front bezel.Bottom view of the motherboard. Also, unlike the earlier ‘Compact Macs’ there’s a fan! Note the corrosion on the side of the ‘frame.’CRT monitor. I’ve heard these can maintain voltage for a surprisingly long time. Don’t mess with these.Test fitting. My initial thought was to build up the insides in ’layers’ but this did not prove practical. Instead I ended up mounting the motherboard sideways.on a piece of vertical acrylic.More test fitting.I wasn’t able to re-use the programmer button unfortunately.The infamous case signatures! This continued through much of the classic Compact Mac form factor’s life: I think my Classic II had them. Also of note is the silver appearance, which probably helps prevent RF interference.I decided the power supply needed to breath and planned to drill a series of vent holes. ‘Plan B’ was trying to cut to a larger size and installing a fan grate, but this was my more appealing option.Drilling holes. This part was nerve wracking.Drill Waste. The plastic actually drilled surprisingly well, producing long ‘worms’ like these.I had to take breaks. This was stressful.Preparing to drill break.Drilling complete!The interior of the case which was essentially the ‘finished’ layout.The front bezel gets interesting as it holds several components. The newest versions hold laser-cut acrylic pieces to helm frame and support the LCD display, the LCD itself (with adjustable widgets to help set the height) and the LCD driver board and control board.It’s alive!Some errors and odd behavior remains.Early layout. I think this might have been on the original Mac SE I tried to convert but failed.Front view of the internal display test.In a perfect world I’d have buttons where buttons go, but trying to fit a CD-ROM drive or similar in the floppy slot seemed way too difficult. So I used it for controls for the built-in LCD, making a working control panel by using a thin strip of acrylic with stiffeners between buttons.Internal display testing.Button testing!.Soldering and shrink-wrapping.